
How to Photograph Empty Rooms for the Best Virtual Staging Results
Virtual staging is only as good as your source photo. A practical shoot guide for estate agents and photographers — angles, lighting, height and settings that make staging look flawless.
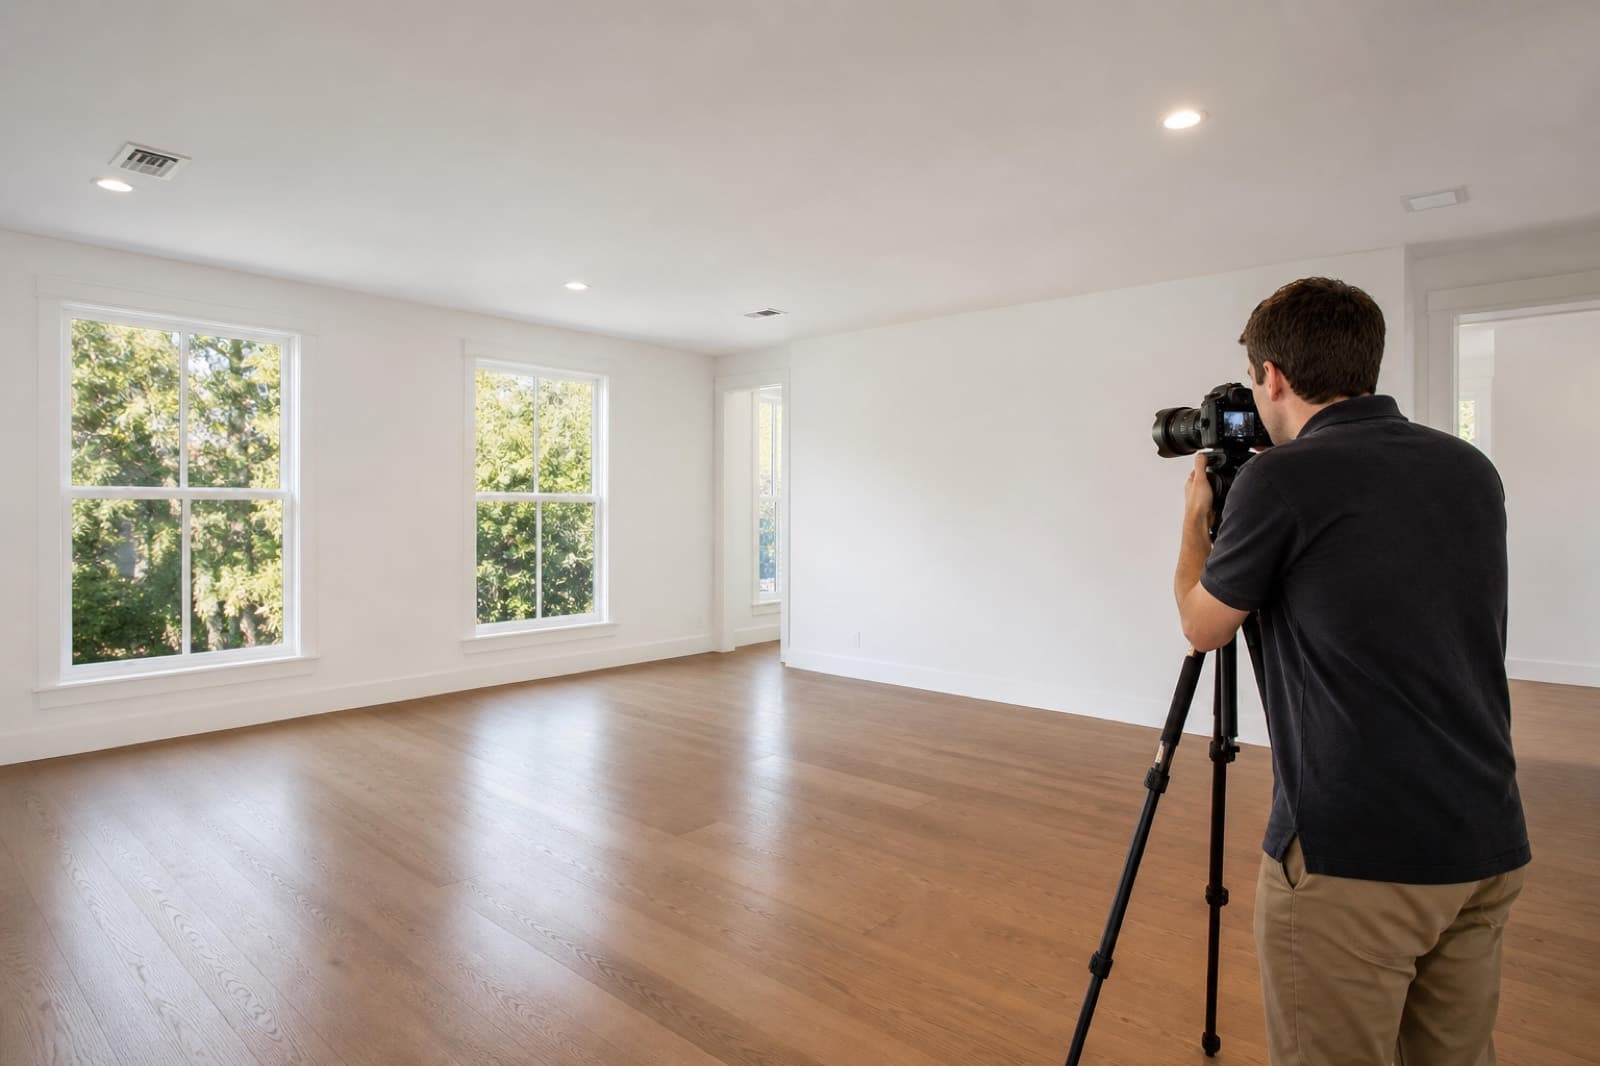
Key Takeaways
- Shoot from a corner, straight-on, at around chest height (1.5m).
- Keep the camera perfectly level so walls and doorframes stay vertical.
- Capture the full floor — staging furniture needs floor to sit on.
- Light evenly; avoid harsh shadows and blown-out windows.
- Sharp, high-resolution, level photos give the most realistic staging.
Here is the truth about virtual staging that no one tells you: the staging is only ever as good as the photo you start with. Get the shoot right and the furniture looks like it was always there. Get it wrong — a tilted camera, a blown-out window, a floor cut off at the edge — and even the best staging will look "off." This guide shows estate agents and photographers exactly how to shoot empty rooms for flawless virtual staging.
Why the source photo matters so much
Virtual staging adds furniture into your image. If the walls lean, the perspective is distorted or the floor is cut off, the staged furniture has nowhere believable to sit. Nail the fundamentals below and staging becomes effortless — this is the single biggest factor in professional virtual staging photography.
1. Choose the right angle
- Shoot from a corner, facing into the room, so you capture two walls and a strong sense of depth.
- Keep the camera straight-on — parallel to the walls — rather than angled awkwardly across the room.
- Include the main features: windows, fireplaces, doorways and any focal points.
2. Get the camera height right
- Shoot at roughly chest height (1.4–1.5m).
- Too high and you look down on the room, shrinking it; too low and ceilings dominate. Chest height gives the natural perspective staged furniture needs.
3. Keep it level
- Use a tripod and a spirit level (most cameras and phones have one built in).
- Keep vertical lines — door frames, wall corners, window edges — perfectly vertical. A tilted camera is the number one reason staged rooms look wrong.
4. Capture the whole floor
- Staged furniture sits on the floor, so the floor must be in shot. Frame so the front edge of the floor is visible and you can see well into the room.
- Avoid cutting off the floor at the bottom of the frame — it leaves nowhere to place a sofa or bed convincingly.
5. Use the right lens
- A moderately wide lens works best — around 16–24mm on full-frame (or 10–16mm on crop sensors).
- Avoid ultra-wide shots that stretch and distort the edges; distortion makes staged furniture look unnatural and exaggerates room size unrealistically.
6. Light the room evenly
- Favour natural light. Shoot during the day with curtains and blinds open.
- Aim for even, soft lighting and avoid harsh pools of shadow.
- Expose for the room and the window so the view outside is not blown out to pure white — bracketing or HDR helps here.
- Turn interior lights on or off consistently across a set so staging matches.
7. Shoot sharp and high-resolution
- Use a low ISO and a small-to-mid aperture (around f/8) for sharpness front to back.
- Deliver high-resolution files. More detail gives cleaner, more realistic staging and better portal images.
Quick pre-shoot checklist
- Room decluttered and clean (or note items to remove digitally)
- Tripod set at chest height and levelled
- Corner angle capturing two walls and the full floor
- Windows correctly exposed, lights consistent
- Sharp, high-resolution files saved
If a room still has clutter or dated fittings, capture it anyway — you can tidy it with virtual decluttering before staging.
The payoff
Spend an extra two minutes getting the angle, height and level right, and your virtual staging will look completely natural — the furniture will feel like it belongs in the room. That realism is what turns portal scrolls into viewings.
Ready to stage your shots? Explore AI virtual staging or see our virtual staging examples.
- #property photography
- #virtual staging tips
- #real estate photography
- #empty room photos
- #estate agent photography
Frequently Asked Questions

The Virtual Staging Studio Team
Virtual Staging Specialists
The Virtual Staging Studio team produces AI-powered virtual staging that helps estate agents, developers and property professionals present empty rooms beautifully and sell faster.
Start transforming empty rooms today
Generate realistic virtual staging yourself in the app, or order done-for-you staging from our team. Either way, your next listing can look furnished in minutes.
Self-serve or done-for-you · talk to us
Related Articles
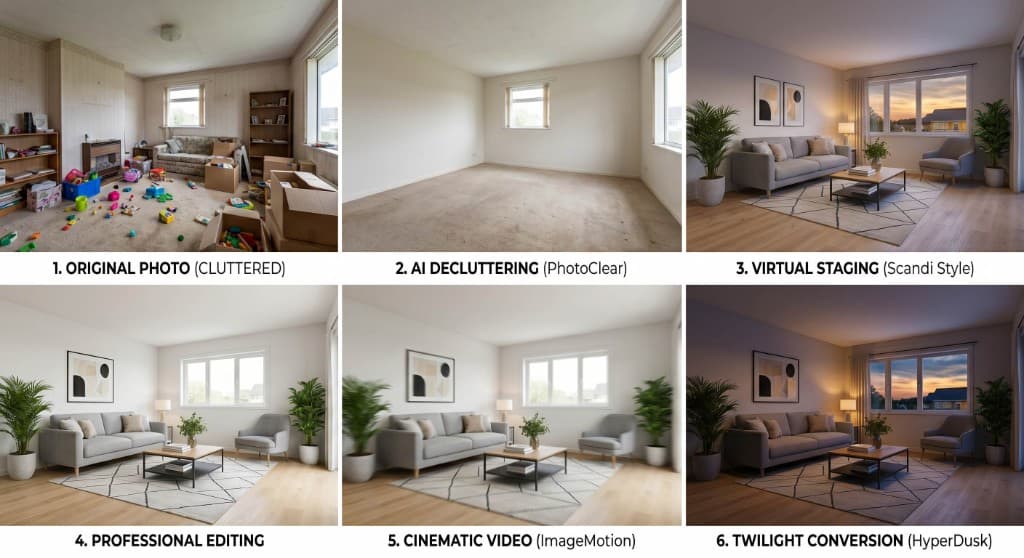
The Future of Property Marketing: Virtual Staging, Video and AI Automation
Virtual staging was just the beginning. Today, connected AI tools let estate agents turn a single property photo into staged images, edited photography, marketing videos, twilight shots and immersive virtual tours — in minutes.
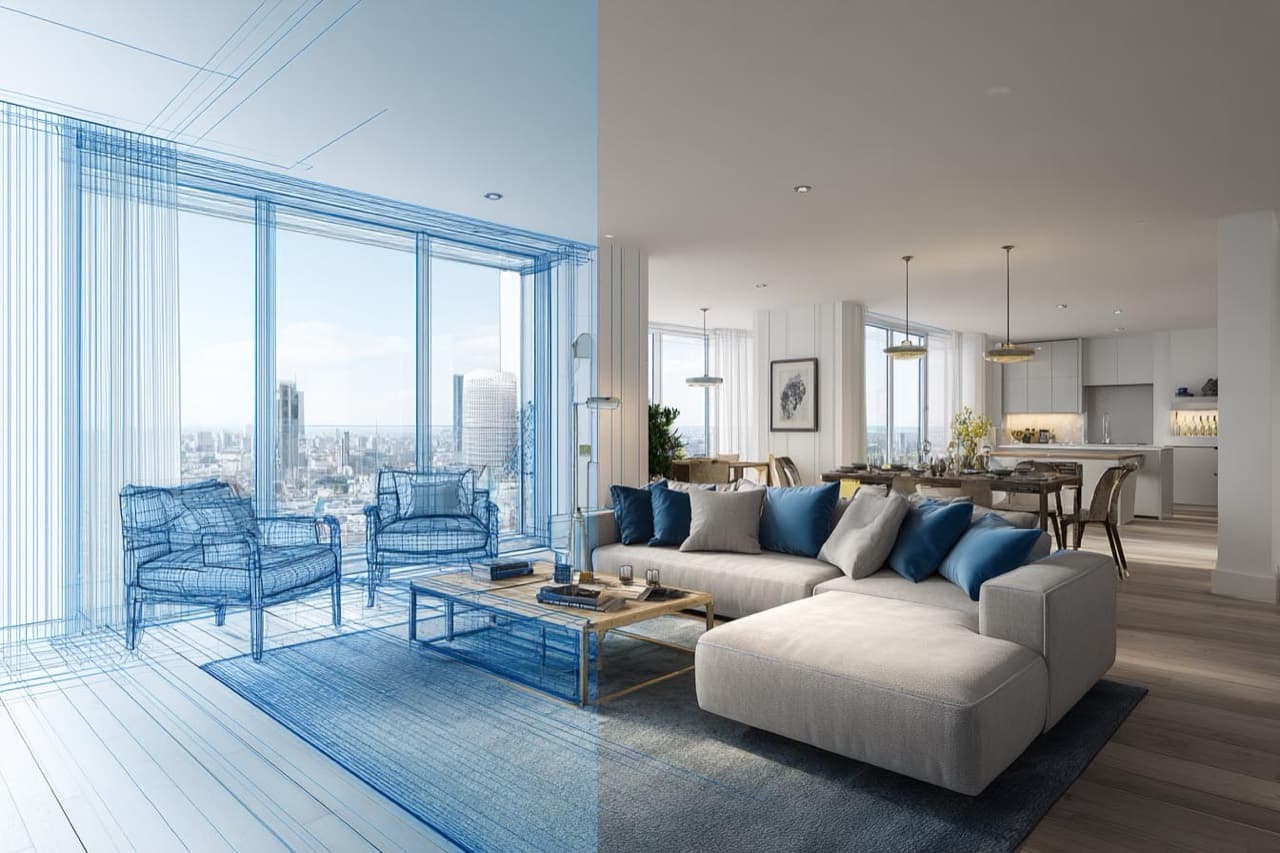
Virtual Staging Services in London: Why It's the Market Leader
London is the UK's most competitive property market — fast-moving, high-stakes and image-driven. Here is why virtual staging has become a must-have tool in the capital.
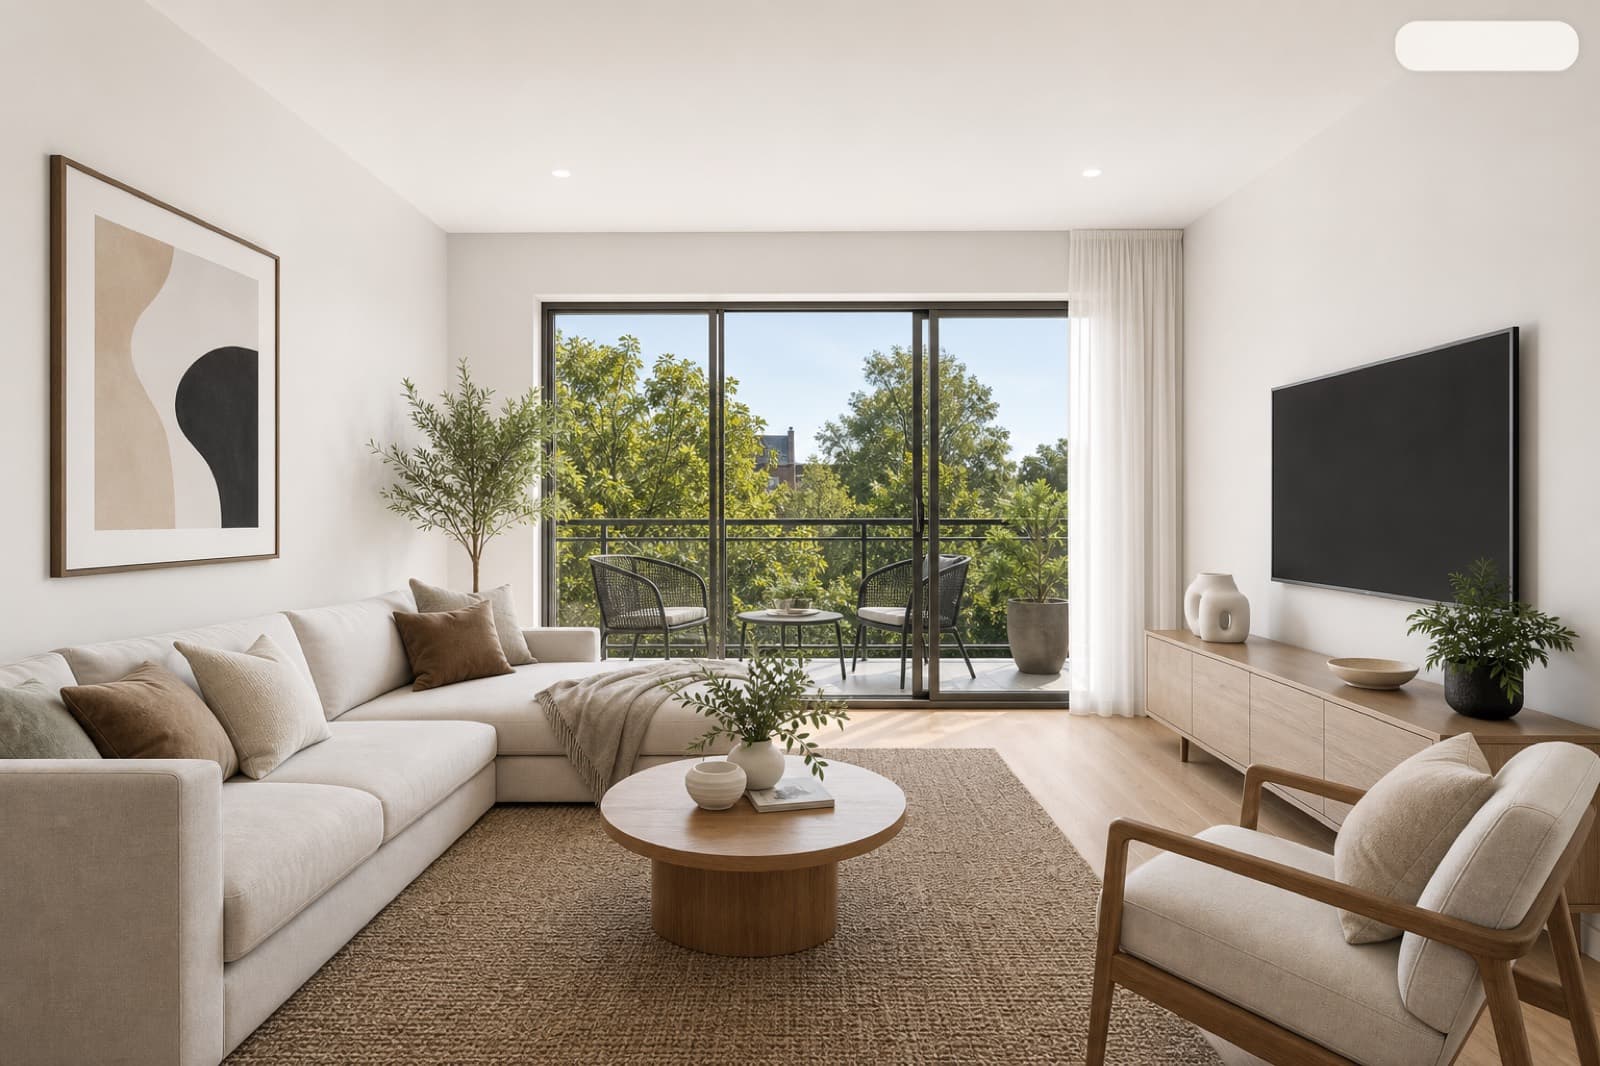
Do You Have to Disclose Virtual Staging? UK Rules, ASA & Portal Compliance
Is virtual staging legal, and do you have to say a photo is staged? A plain guide to UK advertising rules, the CPRs, ASA guidance and how to label staged images on Rightmove and Zoopla.